

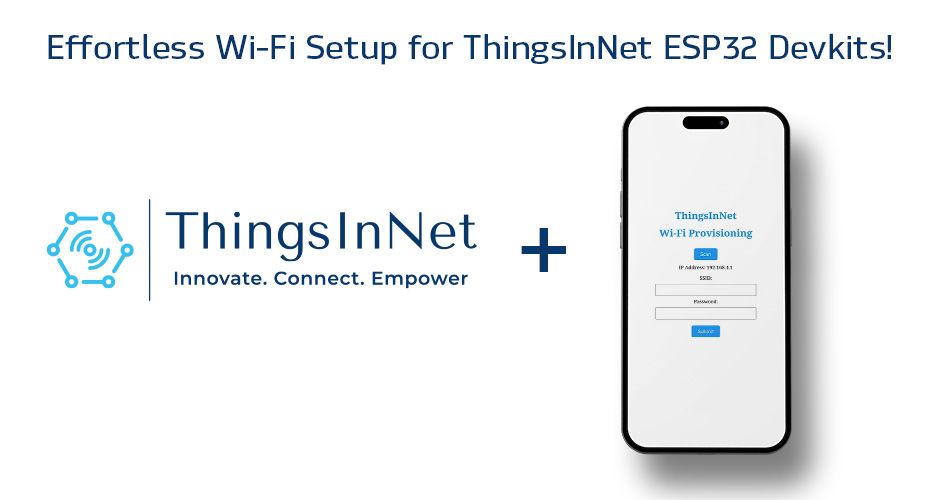

Connect to Master_AP001: To access the configuration webpage shown in Figure 1, first connect to the “Master_AP001” hotspot Wi-Fi network from the Wi-Fi settings of your computer or mobile device.
Access the Configuration Webpage: Once connected to the “Master_AP001” hotspot, open a web browser and navigate to the IP address of the ESP32 device from your computer or mobile device. Typically, this would be 192.168.4.1 or similar, but you can find it displayed on the Serial Monitor when the IoT device is in hotspot mode.
Scan Available Networks: On the configuration webpage, click on the “Scan” button. This will search for and display a list of available Wi-Fi networks in your vicinity.
Spot the New Wi-Fi Network: From the list of scanned networks, identify the Wi-Fi network (SSID) you wish to connect.
Enter New Credentials: Go back to the Wi-Fi configuration window and enter the SSID. Then input the correct password into the provided field and submit.
Save and Restart: Once submit the credentials, the ESP32 devkit will securely store these new credentials in its EEPROM memory. After saving, the device will automatically restart to apply the changes and attempt to connect to the newly configured Wi-Fi network.
Verify Connection: After the restart, the ESP32 devkit will try to connect to the newly configured Wi-Fi network using the provided credentials. You can check the Serial Monitor for messages indicating a successful connection. Alternatively, the device’s LED 2 connected to GPIO2 shows blinks and indicates status.
Reset Wi-Fi Password or Network:
User-Friendly Interface: The web portal eliminates the need for manual code modifications, making Wi-Fi setup intuitive and straightforward.
Persistent Storage: By utilizing EEPROM, the ESP32 retains Wi-Fi credentials across power cycles, reducing setup hassles.
Dynamic Configuration: Real-time Wi-Fi changes are facilitated, providing flexibility for varying network environments without reprogramming.